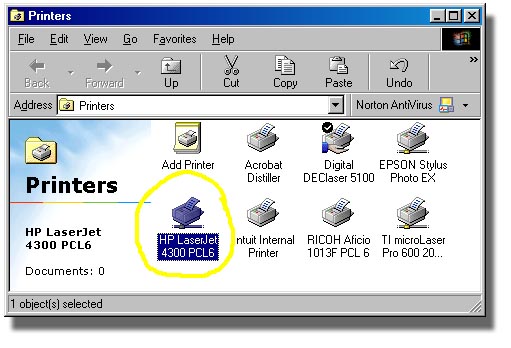
You may want to setup to print from your workstation to a printer physically connected to another workstation on your local network. It is easy to setup a peer-to-peer connection to that other printer. Here are the steps. This may not work with printers labeled by the manufacturer as "Windows Only". Make sure that the printer you want to use is designated as PCL capable. In the specs, look under Languages for mention of PCL. First in a two part process, go to the workstation that is hosting the printer you want to use. If you are not on a network or do not want to share your printer, select "Local port" in the Add port step and do everything except the sharing. Open the Printers dialog.
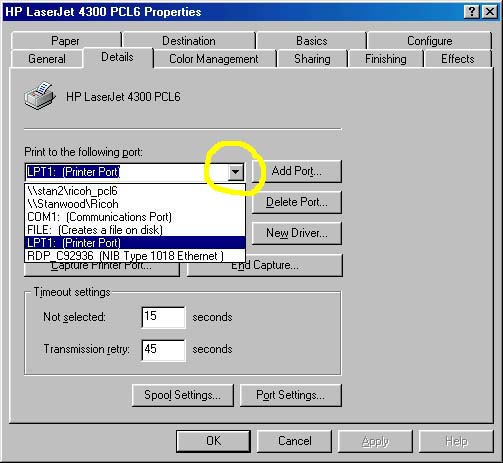
Find the printer connected to this workstation, highlight it then Right click to get the pop-up menu. Click on Properties then click on Details. If your printer is not on the list, click the Add Printer wizard to add your printer. Click on the 'Print to the following port' and select the LPT1 item from the list...
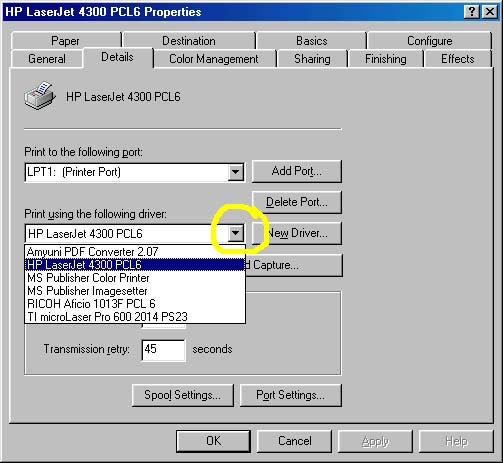
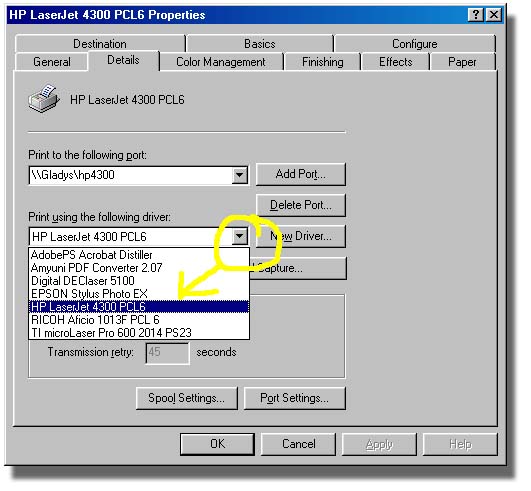
...then make sure that the Print using the following driver box is appropriate for your printer.
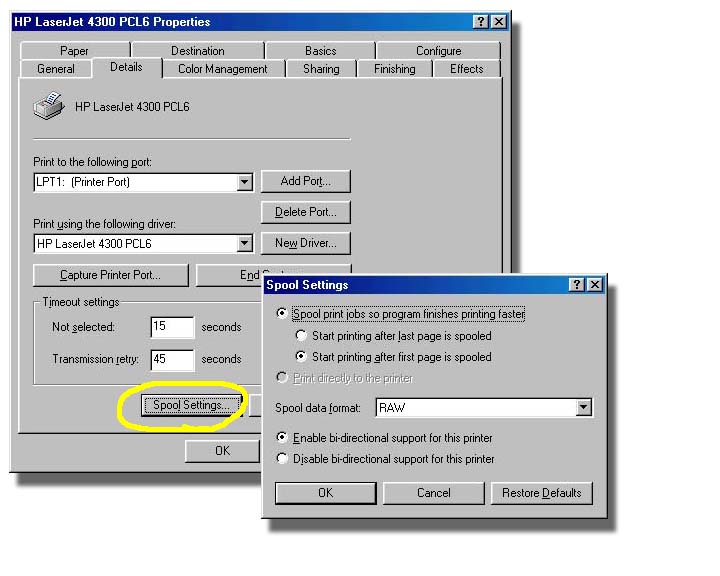
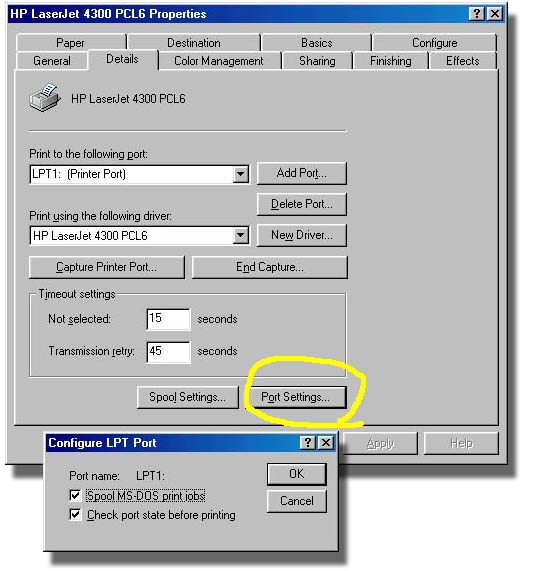
If the driver you need is not on the list, click on New Driver and follow the wizard. Now click on Spool Settings and set as shown here. Click Ok.
Check the Timeout settings also. Click on Port Settings and check both items then click Ok.
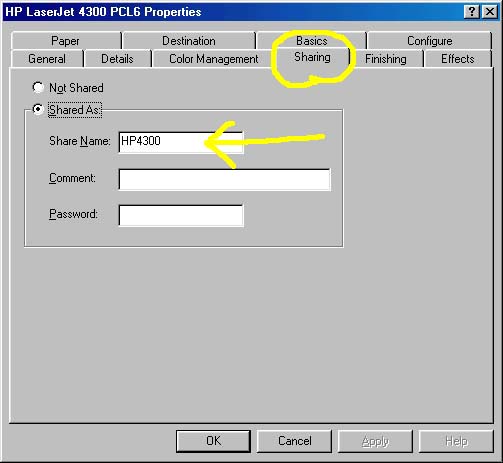
Now click on the Sharing tab
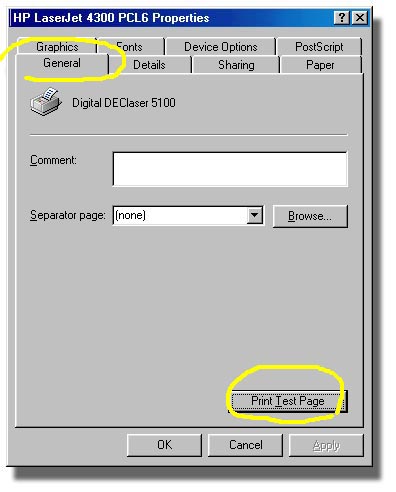
When you click the radio button for Shared As, the Share Name will be filled in for you. Remember it, that is the name this printer will be known as to other workstations. You may want to click on the General tab then click Print Test Page
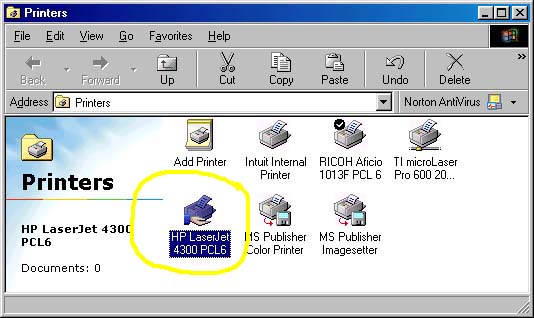
All the Print Test Page will do is prove that the printer is actually hooked up to your workstation and is accepting print jobs. Second in the two part process. Now move back to your workstation and we will configure to print to the printer on someone else's workstation. Open the Printers dialog and select the printer you want to print to. The one we just configured on the other workstation.
Click on the Details tab and click in the Port drop-down
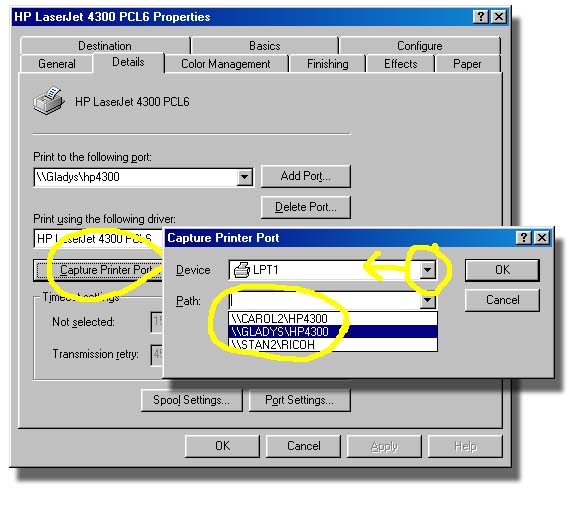
Make sure you select the remote workstation / printer combo from the list. In this example we setup the HP 4300 printer on Gladys' workstation. Next, click in the Driver drop-down
Select the correct driver for your target printer. Now we can click on Capture Printer Port. Select the LPT1 in the Device panel then go into the Path drop-down and select the path to match the port selected.
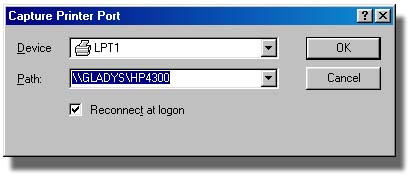
Make sure you check Reconnect at logon then click Ok.
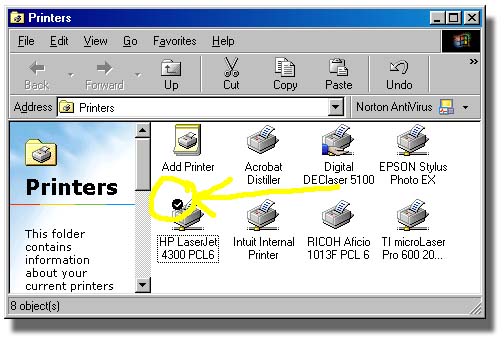
That's it. Last step is to click on the General tab and Print a Test, just to make sure. Before you close the Printers dialog, you may want to again Right Click on your printer and check Set as Default from the pop-up menu.
Now you can start STUREC© in the normal manner. Make sure that you have selected the "P" Generic HP Portrait printer definition.
Now, go print something then forget about it. When you exit STUREC© and go into any of your other Windows programs, they will print properly too! |